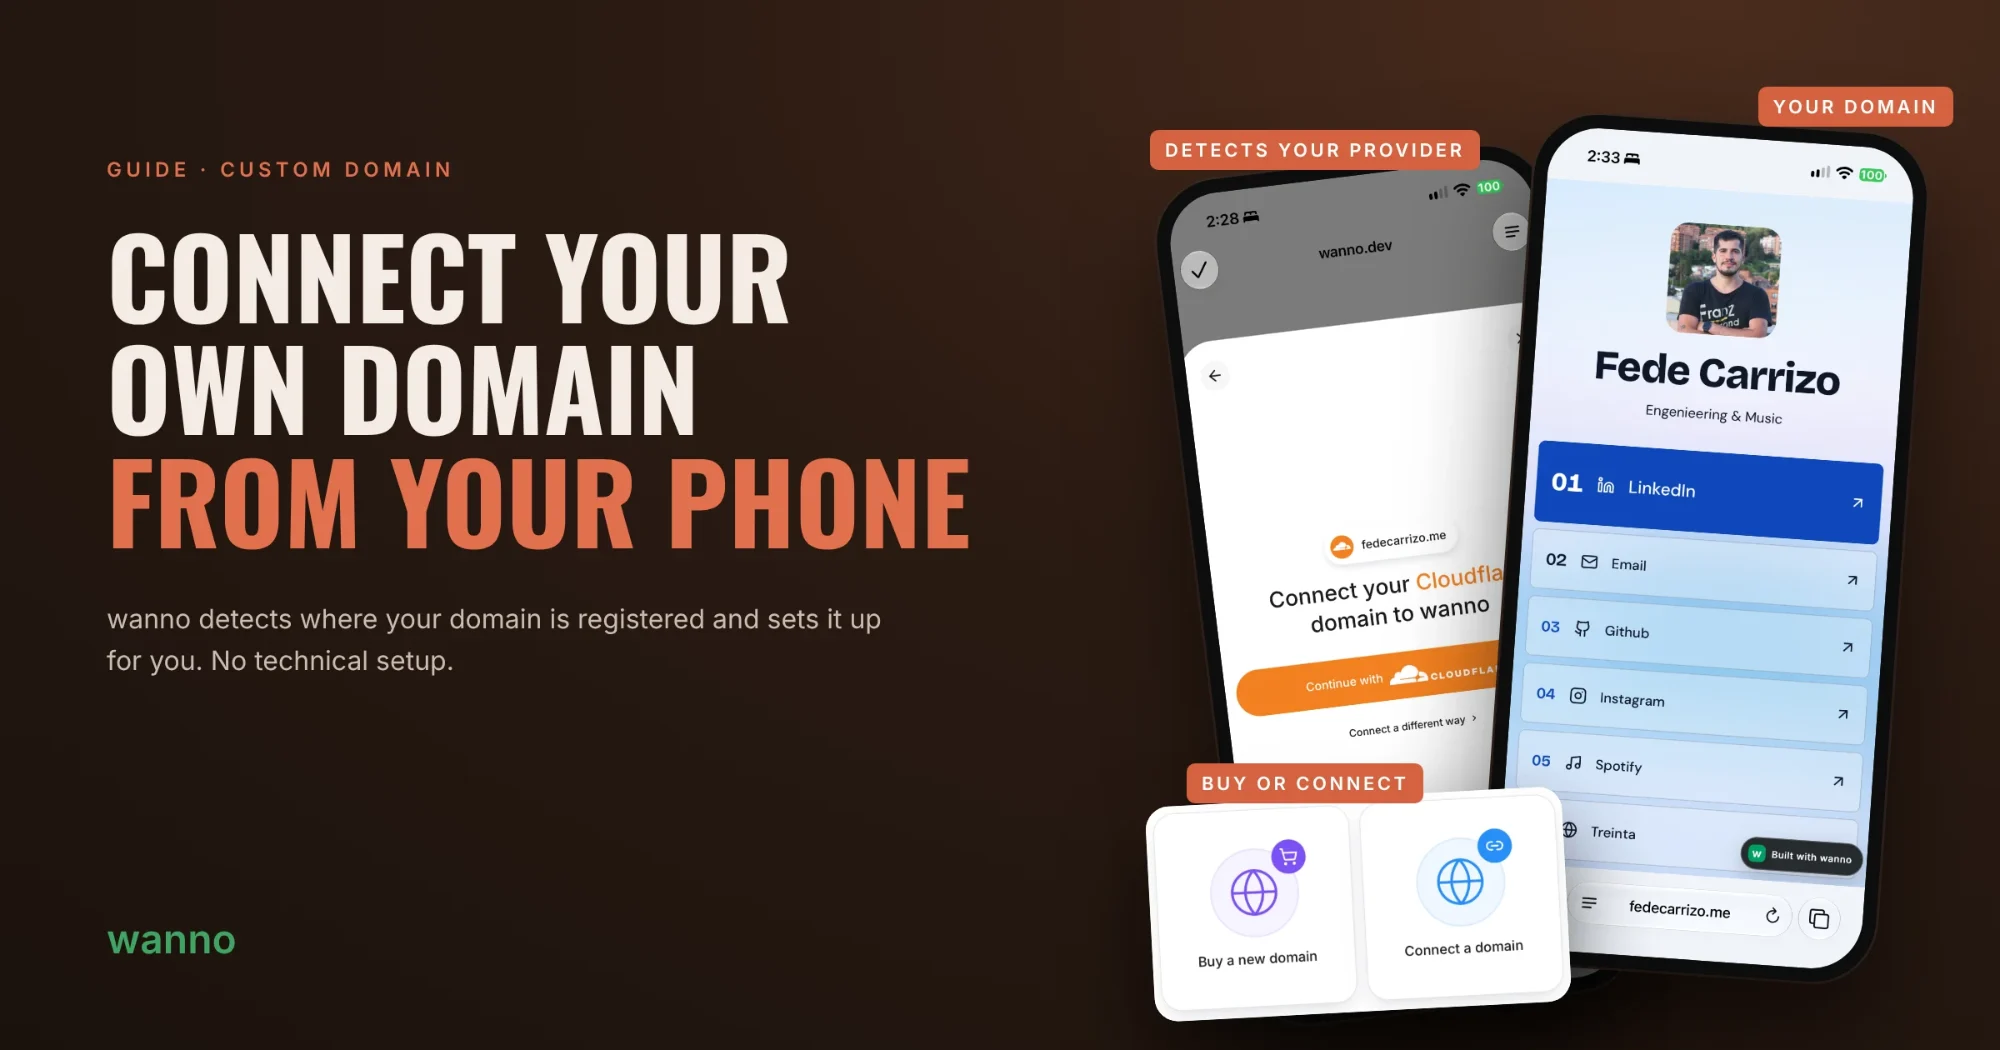
Connecting a domain usually means DNS records, confusing dashboards and waiting to see if it worked. In wanno you type your domain, wanno detects where it's registered and connects it for you, all from your phone.
A custom domain makes your site easier to remember and more credible: yourname.com instead of a long address. In this guide we connect fedecarrizo.me to a site published with wanno, in seven steps.
01. Open your published site's options
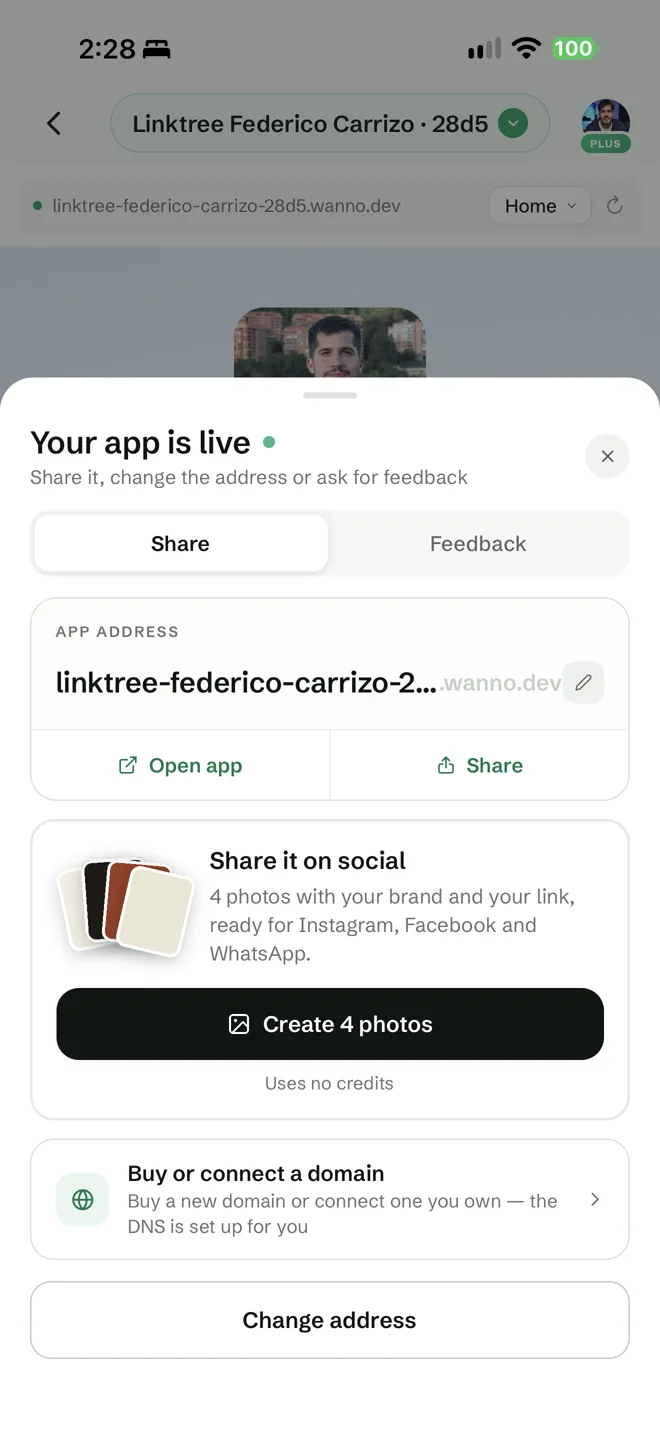
Once your site is published, tap Share. The "Your app is live" panel opens with the current address. Tap Buy or connect a domain.
02. Choose to buy or connect
If you don't have a domain yet, tap Buy a new domain. If you already own one, tap Connect a domain. In this guide we connect an existing one.
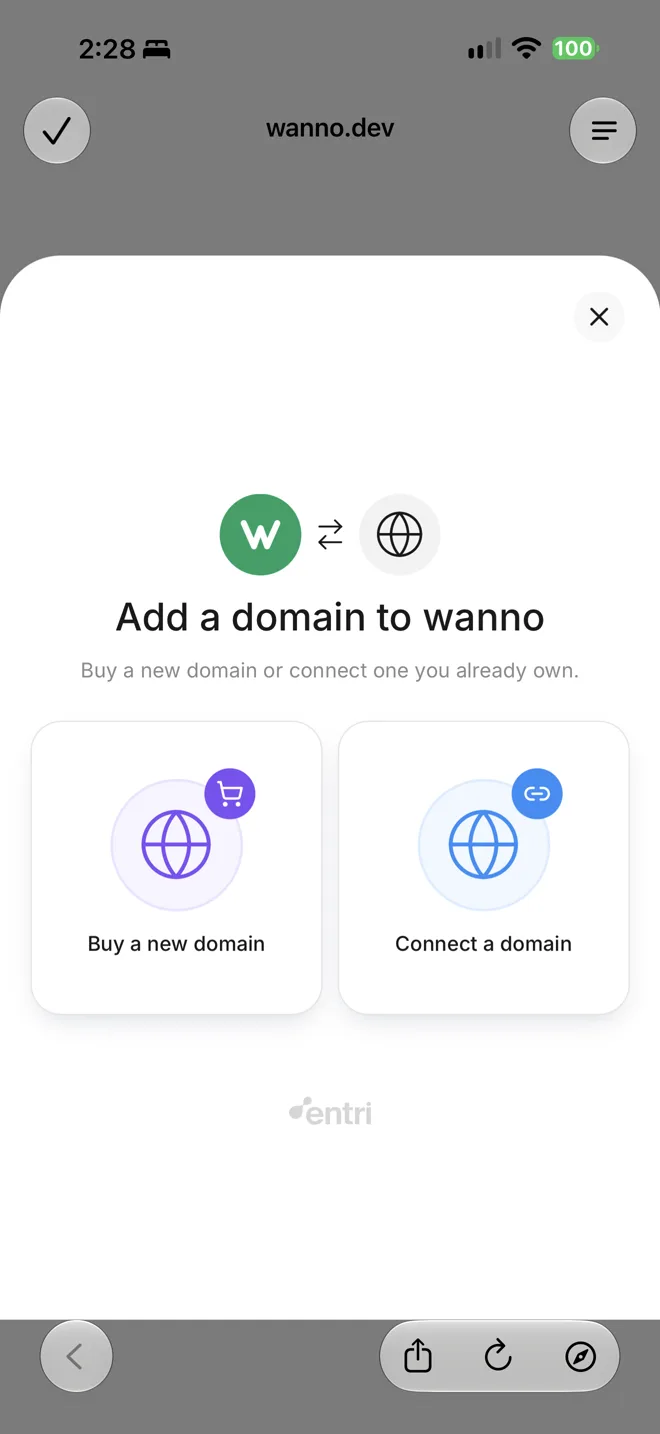
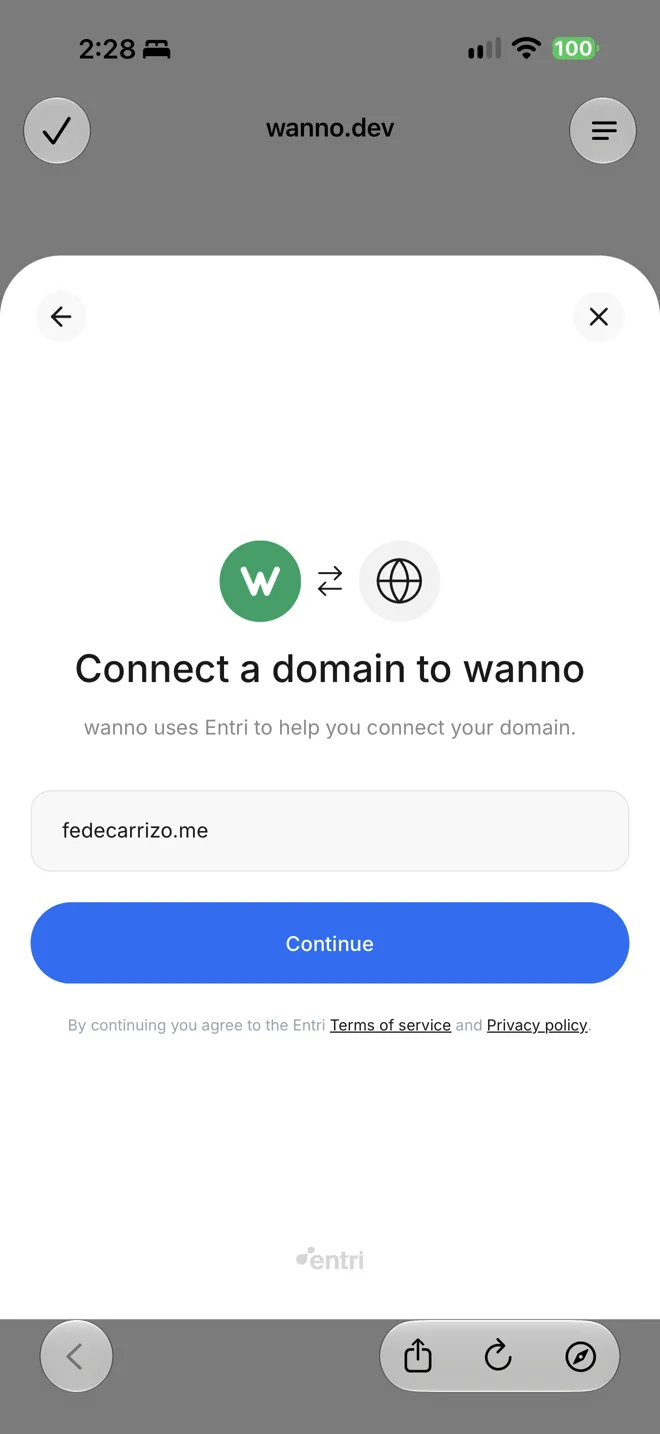
03. Type your domain
Type the domain you want to use, for example fedecarrizo.me, and tap Continue. wanno uses Entri, a service built for connecting domains, to guide you through the rest.
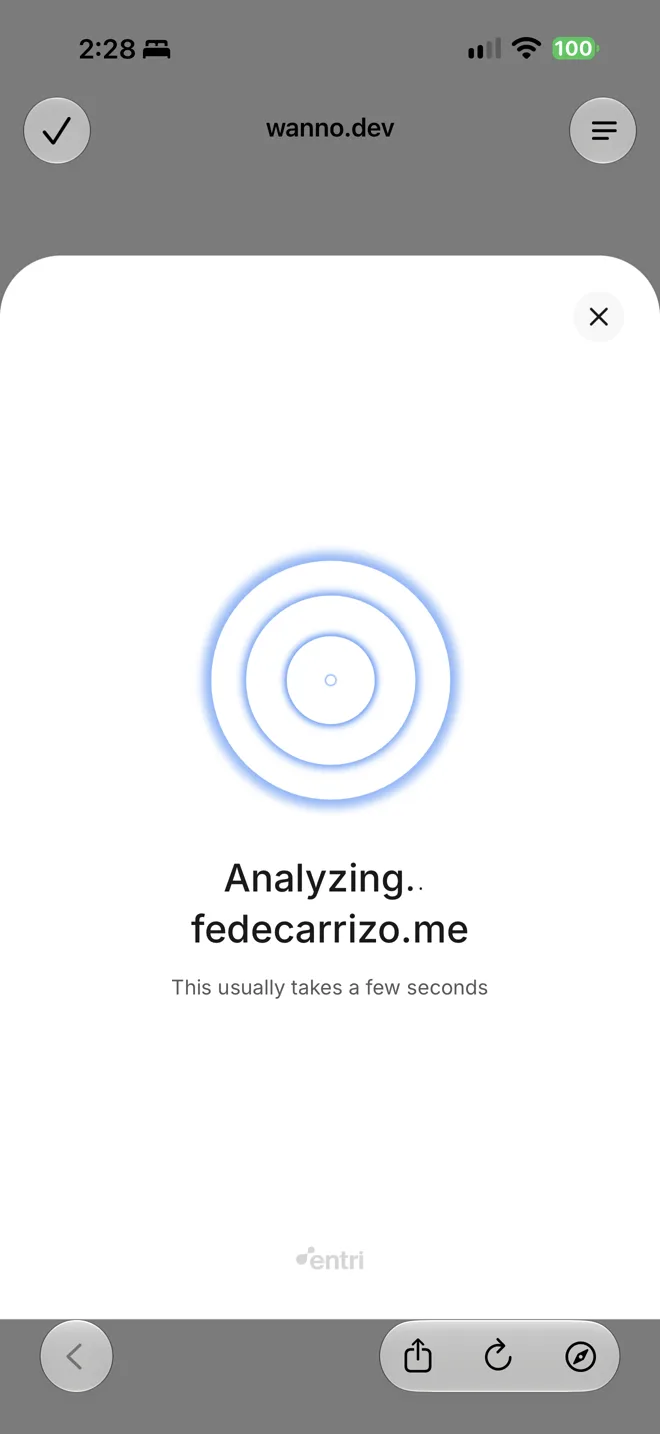
04. Let wanno detect your provider
wanno analyzes the domain and detects which provider it's registered with. It takes a few seconds and you don't need to do anything.
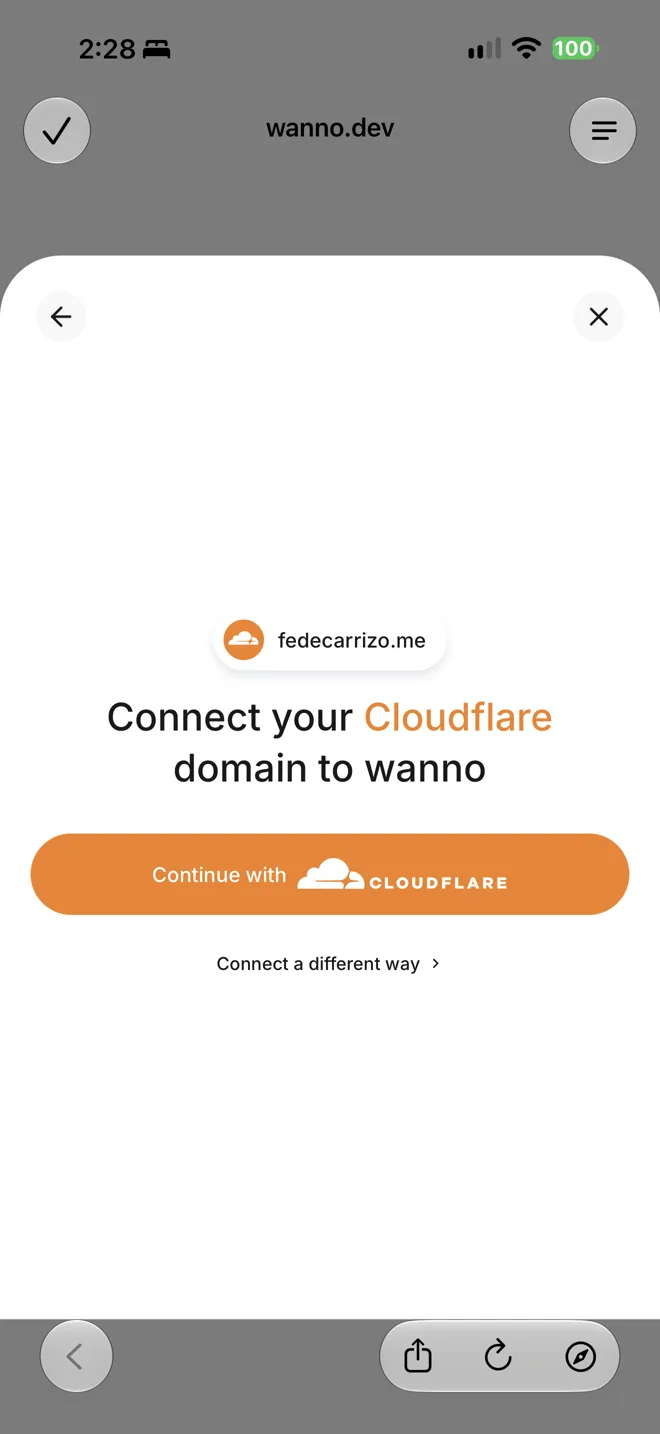
05. Connect with your provider
wanno shows you the provider it found, in this case Cloudflare. Tap Continue with Cloudflare and sign in to your account. If you'd rather do it manually, tap Connect a different way.
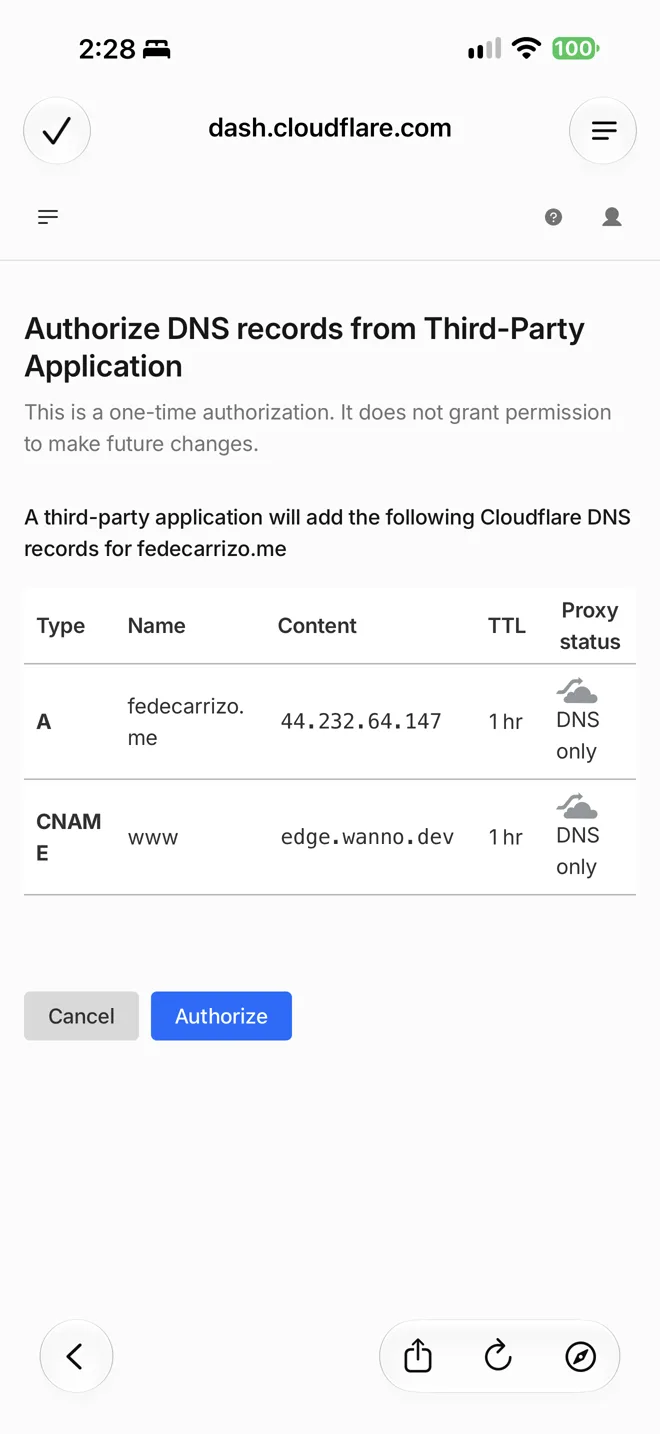
06. Authorize the changes
Your provider shows you exactly which records wanno will add so the domain points to your site. Tap Authorize. It's a one-time authorization: it doesn't give wanno permission to make future changes.
07. Open your site on your domain
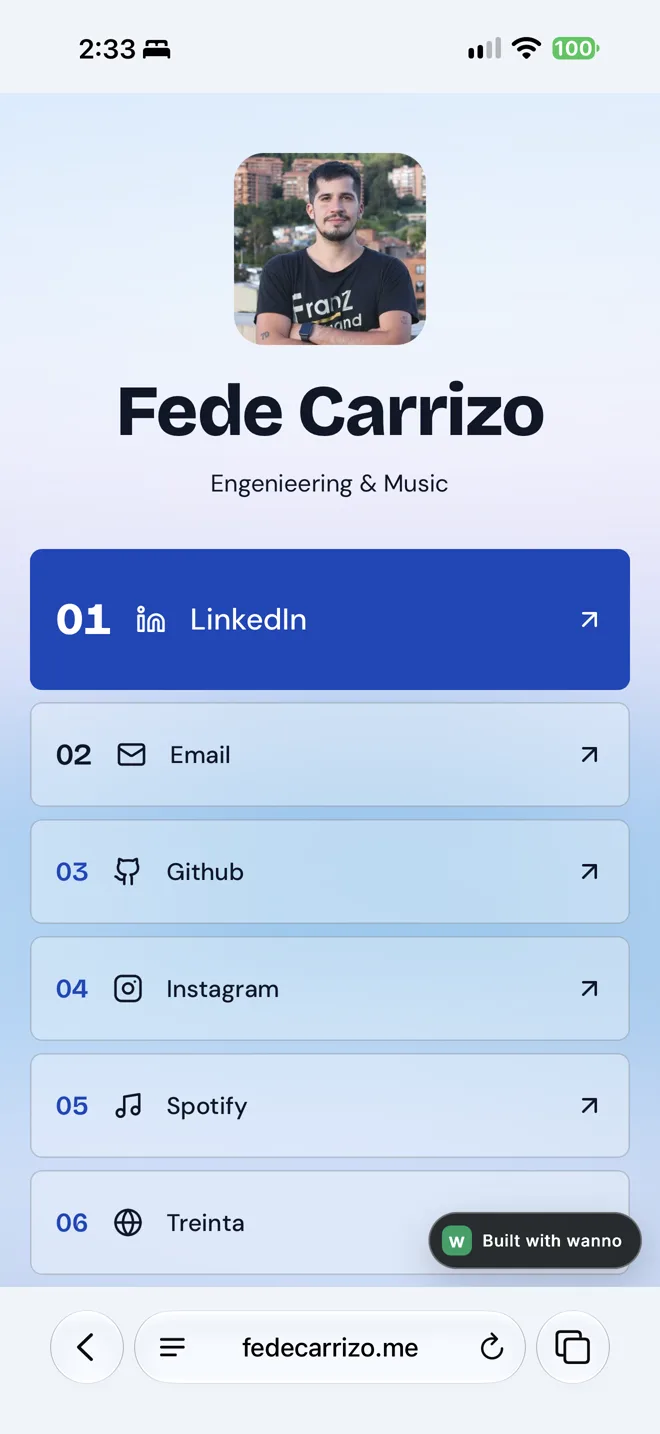
Done. In our case, the site was live at fedecarrizo.me within a few minutes. Open it in your browser and share your new address.
What you built
You connected your own domain to your site without copying DNS records or digging through technical dashboards: you typed the domain, wanno detected the provider, and you just authorized the change. All from your phone.
Read next: Your app is live: now tell people with 4 photos ready for social