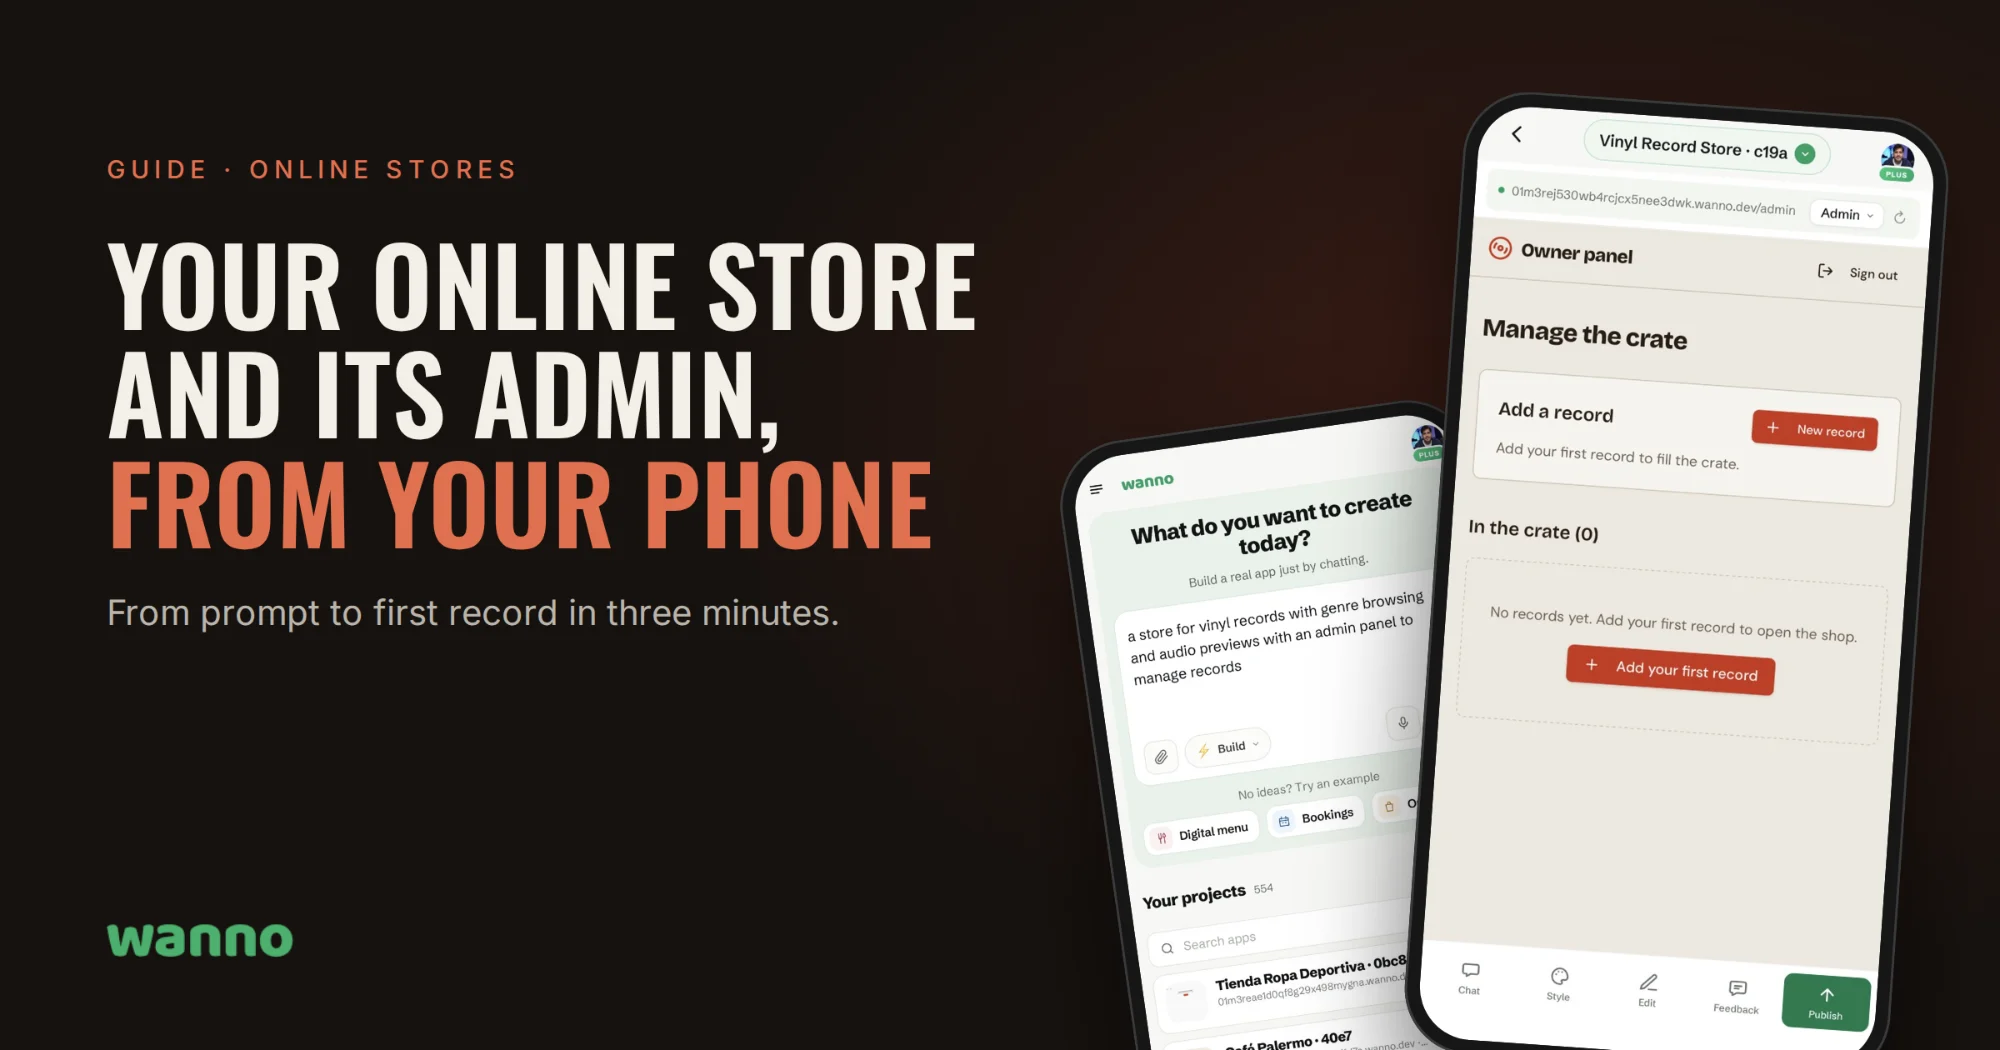
Every online store has two sides: the storefront your customers browse, and the place where you add, edit and hide products. This guide shows how to build both from your phone with wanno, using an example vinyl shop called Groove & Grain. From the prompt to the first record on the shelf took about three minutes. [PLACEHOLDER: link to the published store, e.g. groove-and-grain.wanno.dev]
wanno is free to download for iPhone and Android:
- iOS: Download on the App Store
- Android: Get it on Google Play
1. Ask for the store and the admin panel in one prompt
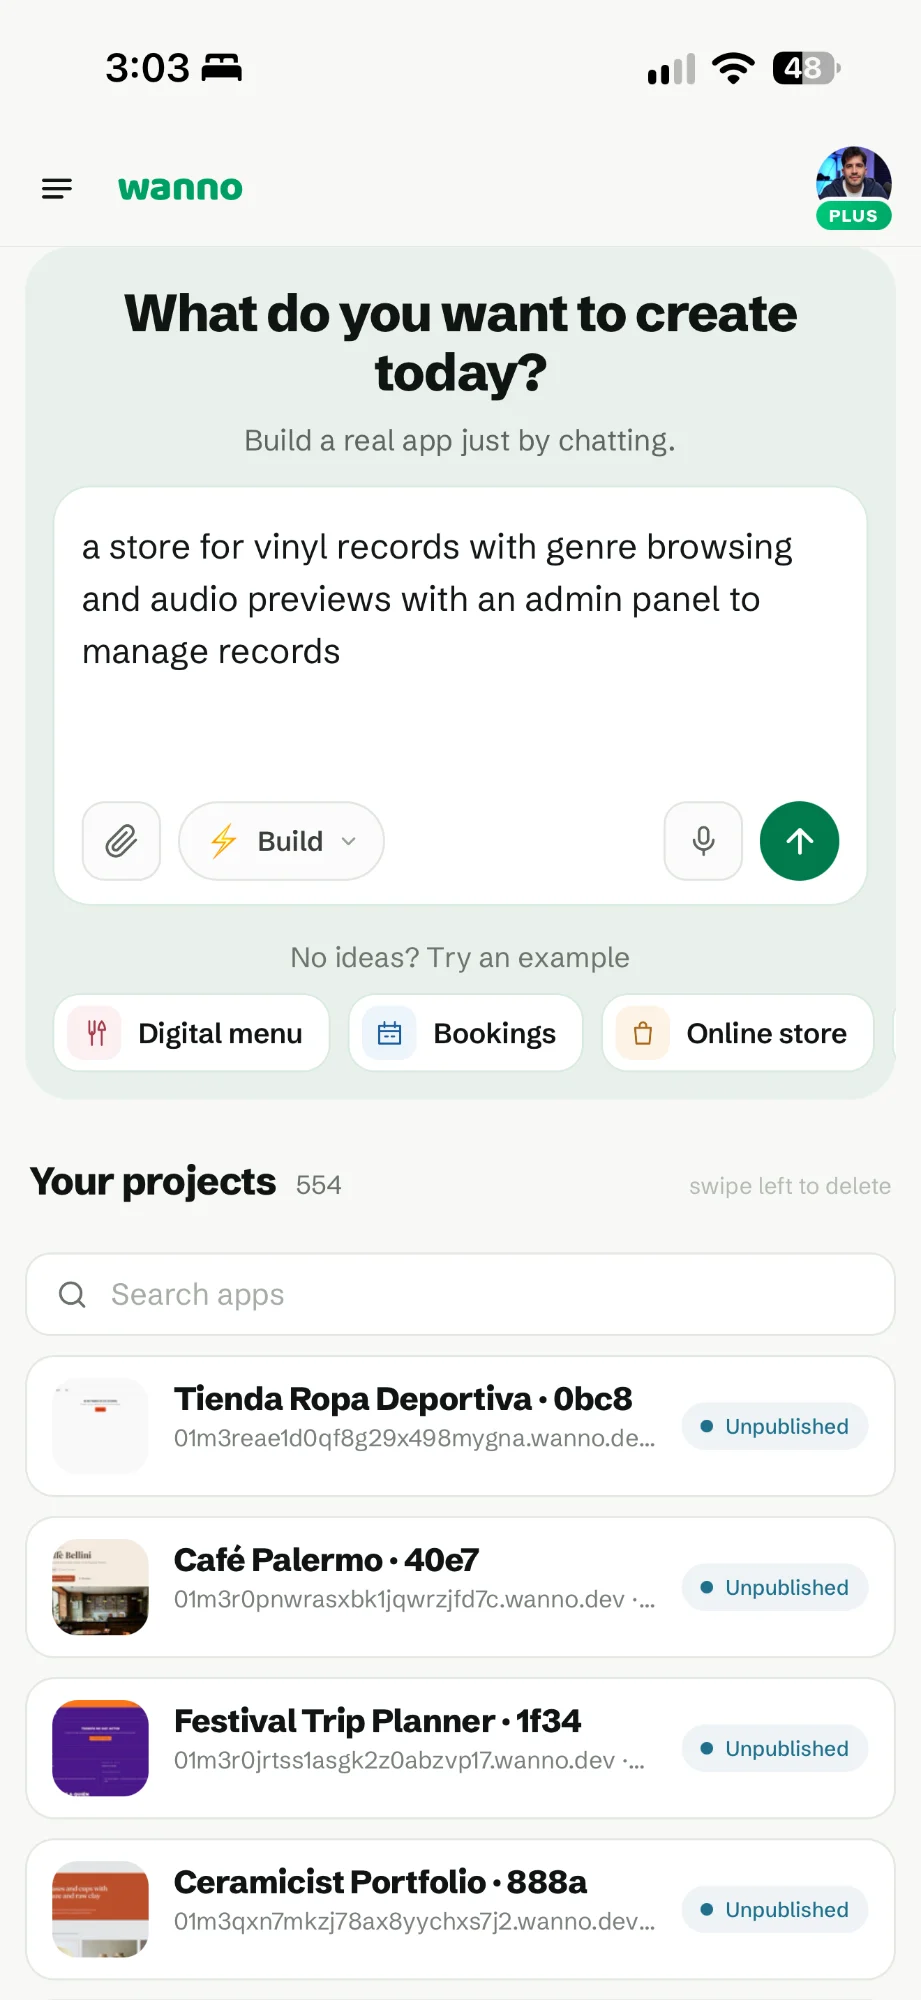
The home screen is a single field: What do you want to create today? If your store needs a place to manage products, say so from the start. Here's the prompt from the example:
a store for vinyl records with genre browsing and audio previews with an admin panel to manage records
The key part is the end: an admin panel to manage records. That tells wanno to build two pages: the public store and a private panel where you add your inventory.
If you're not sure where to start, there are ready-made examples under the field, including Online store.
2. Pick the panel password while it builds
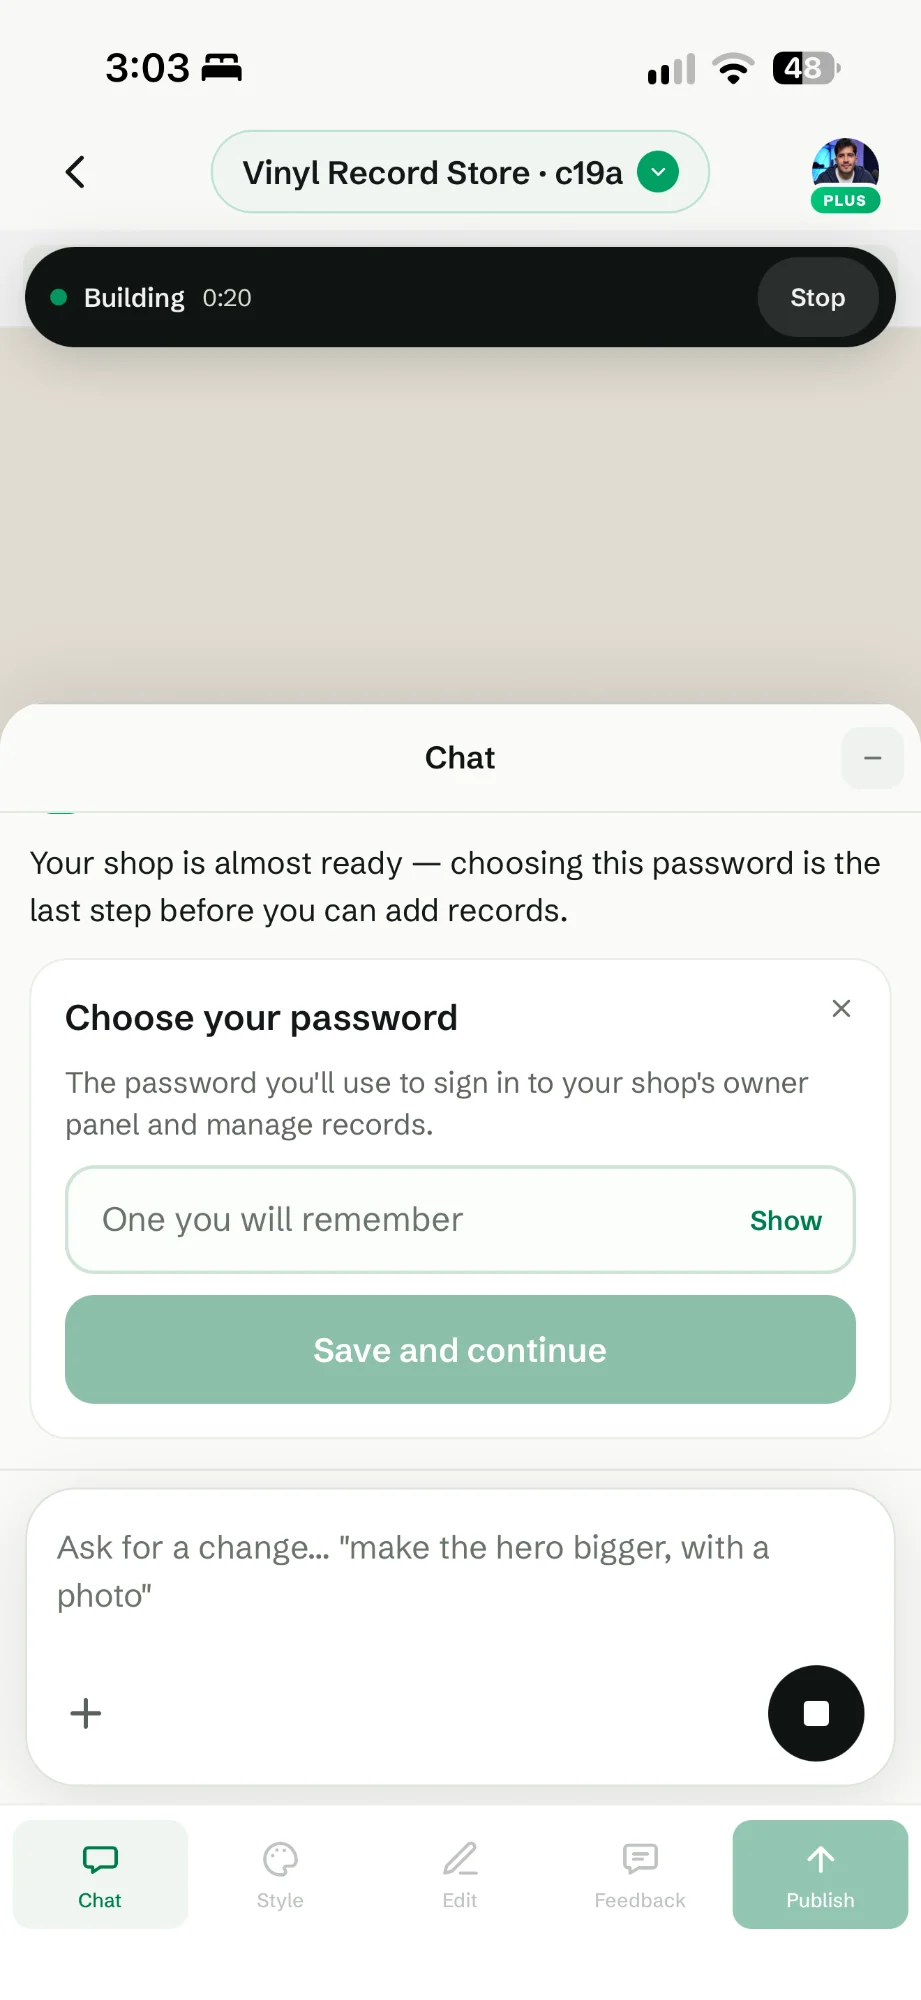
When you send the prompt, the builder opens and the top bar shows Building with a timer. Twenty seconds in, a card appears in the chat: Choose your password. That's the password you'll use to sign in to the owner panel and manage records.
Type one you'll remember and tap Save and continue. The build keeps going on its own.
3. Switch between the store and the panel
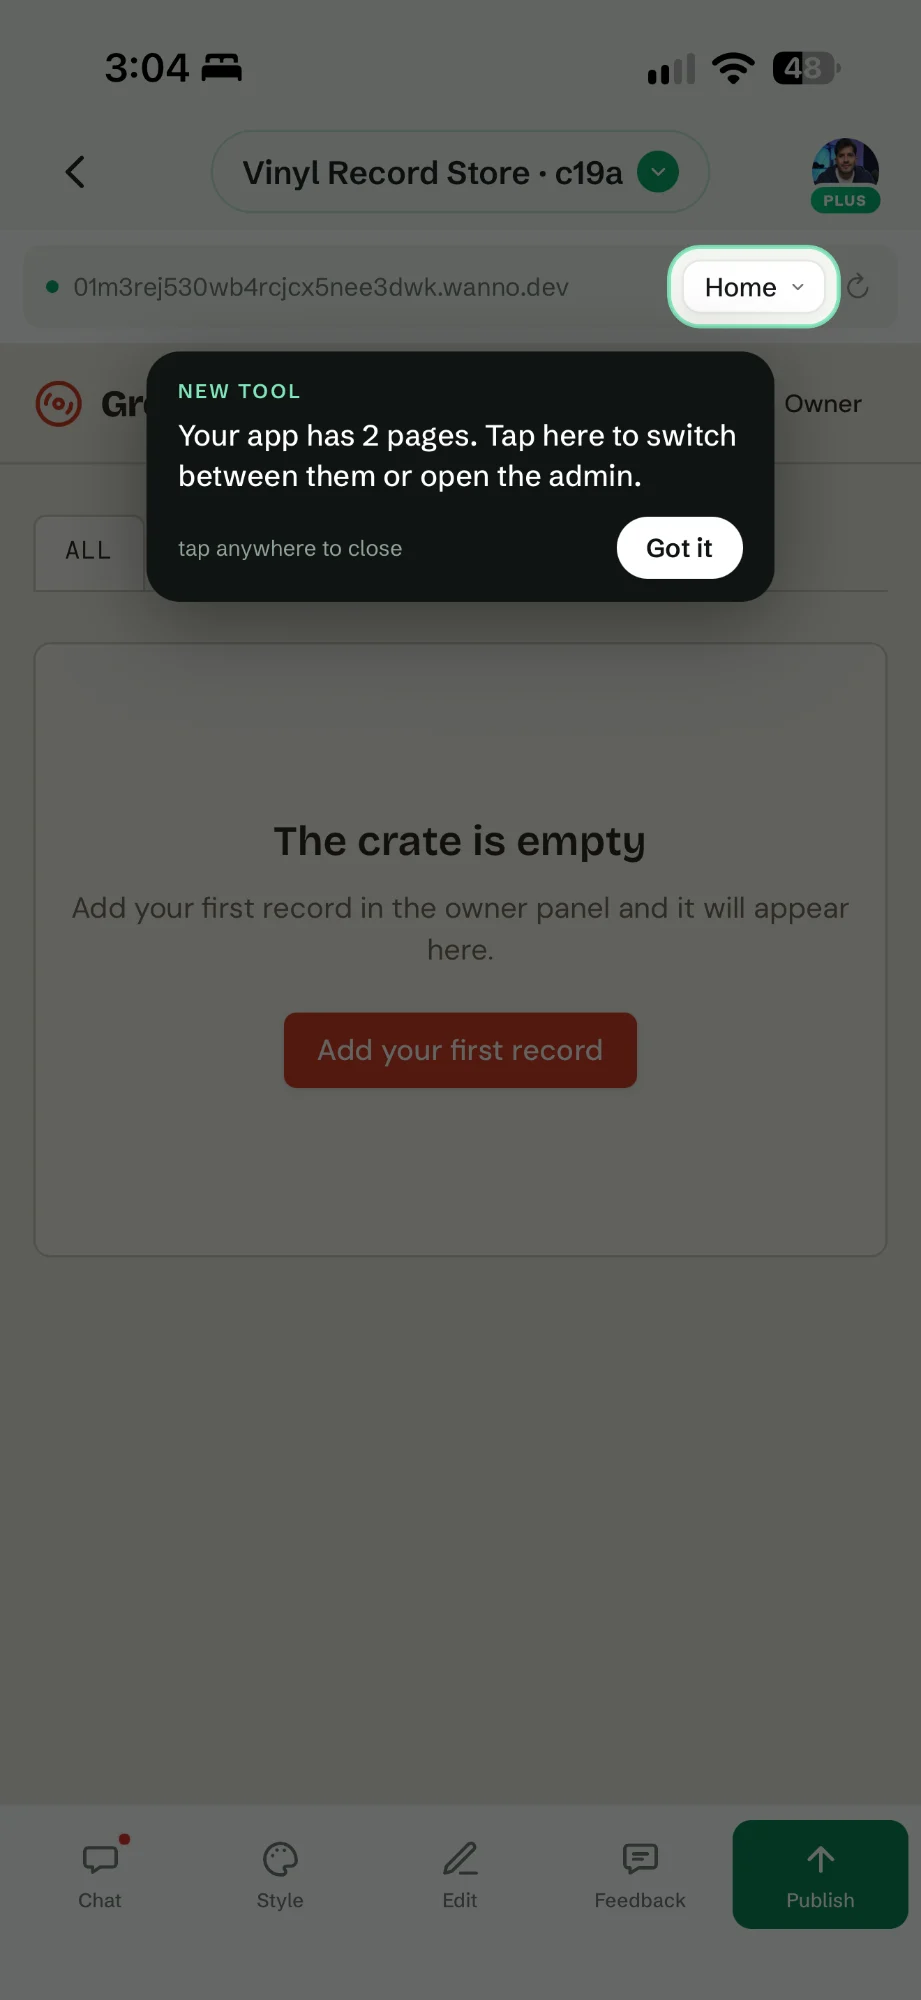
When the build finishes, the preview shows the store with an empty crate: Add your first record in the owner panel and it will appear here. Nothing is made up. The inventory is yours to add.
A tip points to the new page selector in the address bar: your app has two pages, and that's where you switch between them or open the admin.
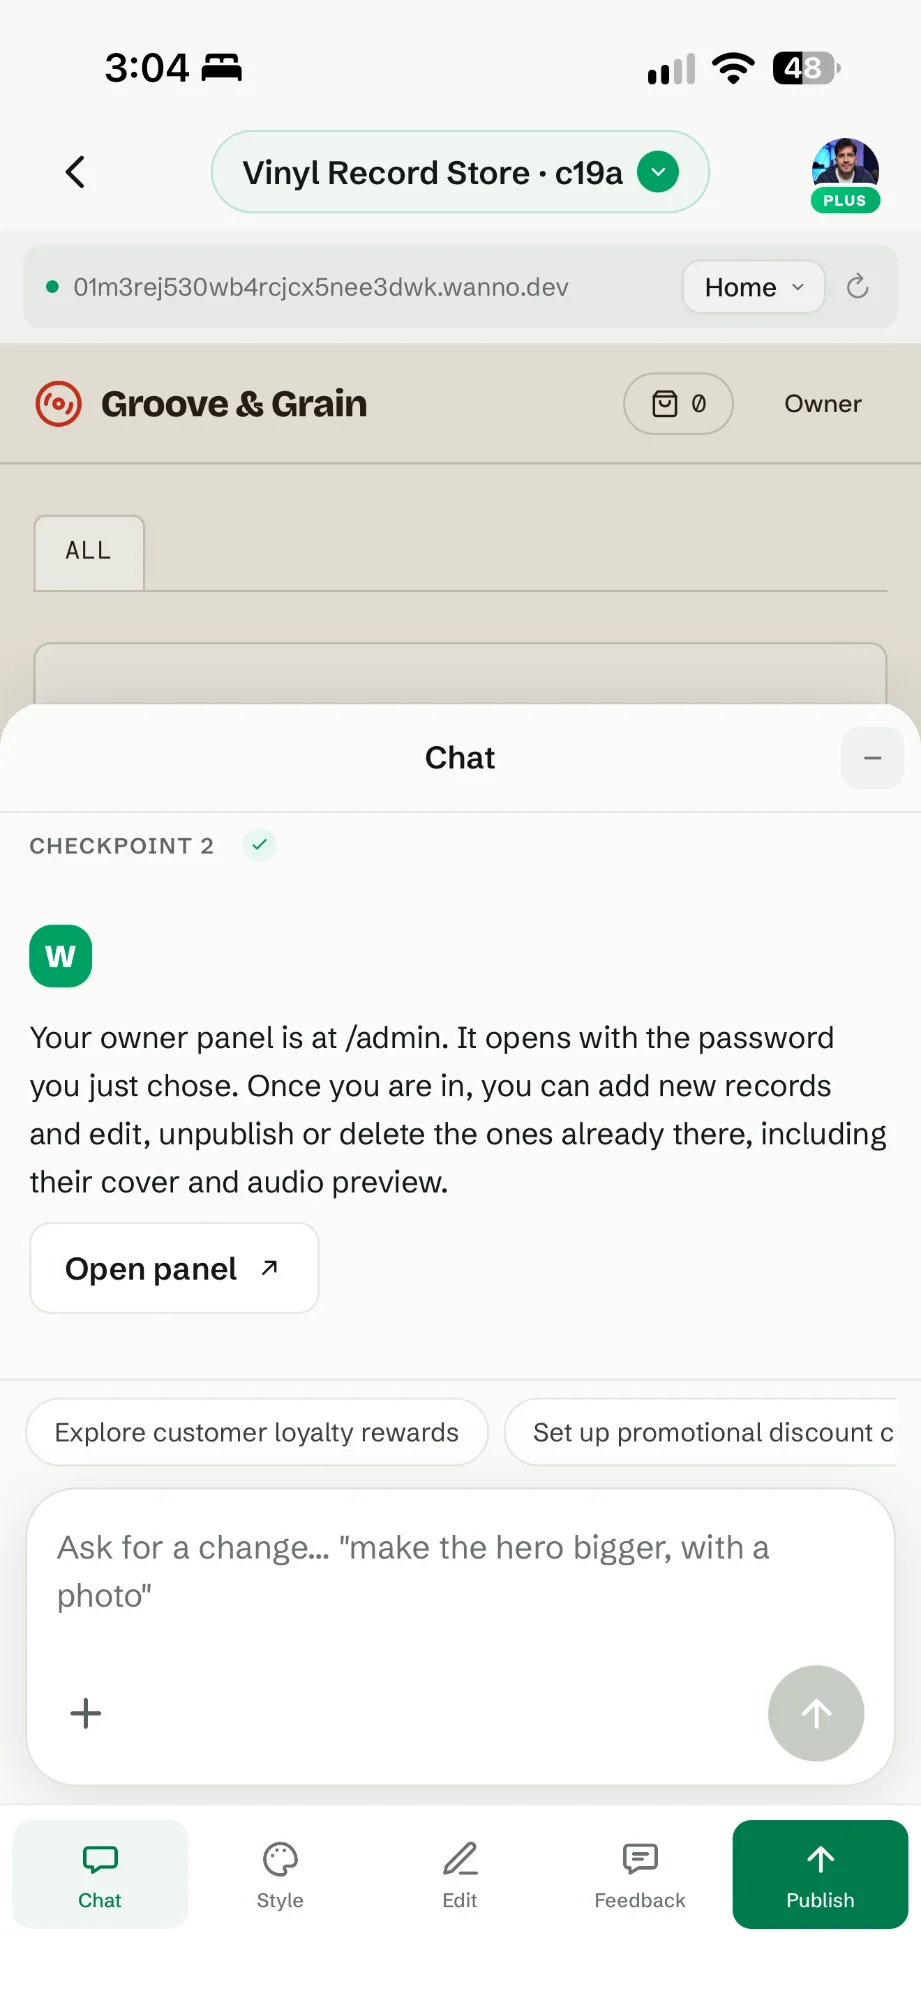
In the chat, wanno explains where the panel lives: at /admin, behind the password you just chose. From there you can add records and edit, unpublish or delete them, including their cover and audio preview. Open panel takes you straight there, and below the chat wanno suggests next steps like loyalty rewards or discount codes.
4. Sign in to the owner panel
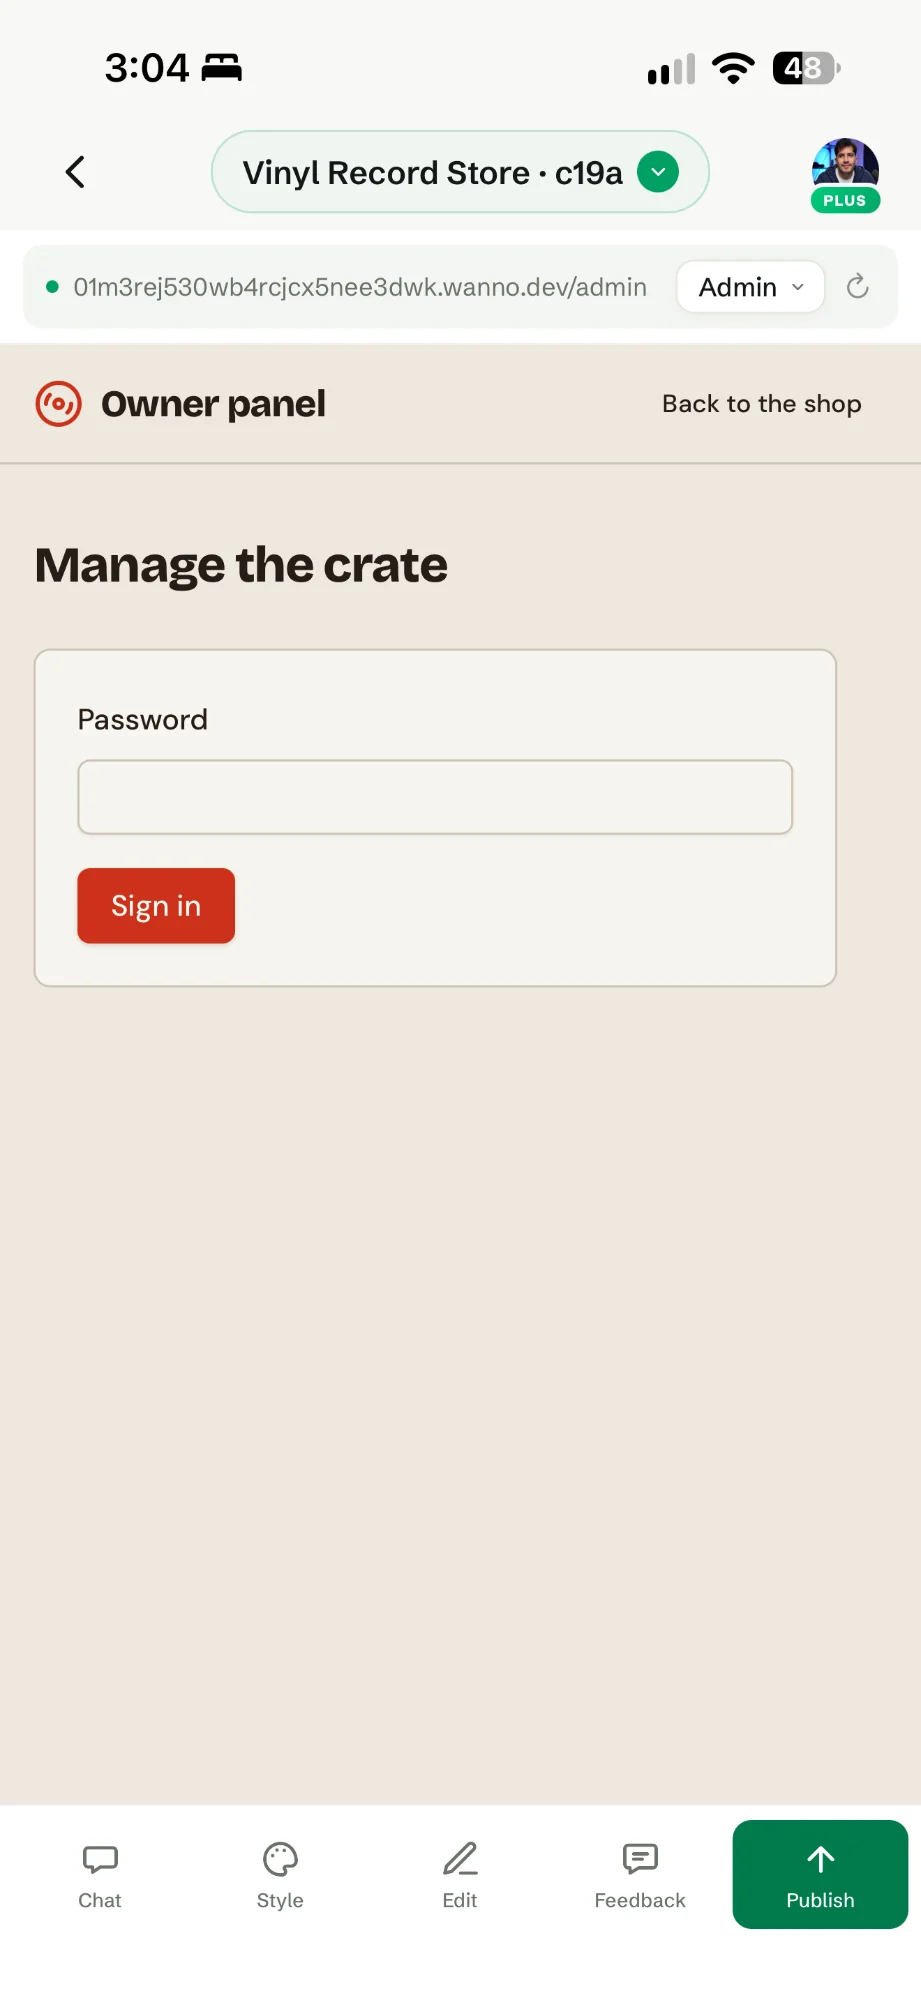
The panel opens at /admin with its own sign-in screen, styled like the store. Enter the password from step 2 and tap Sign in. Back to the shop returns you to the storefront.
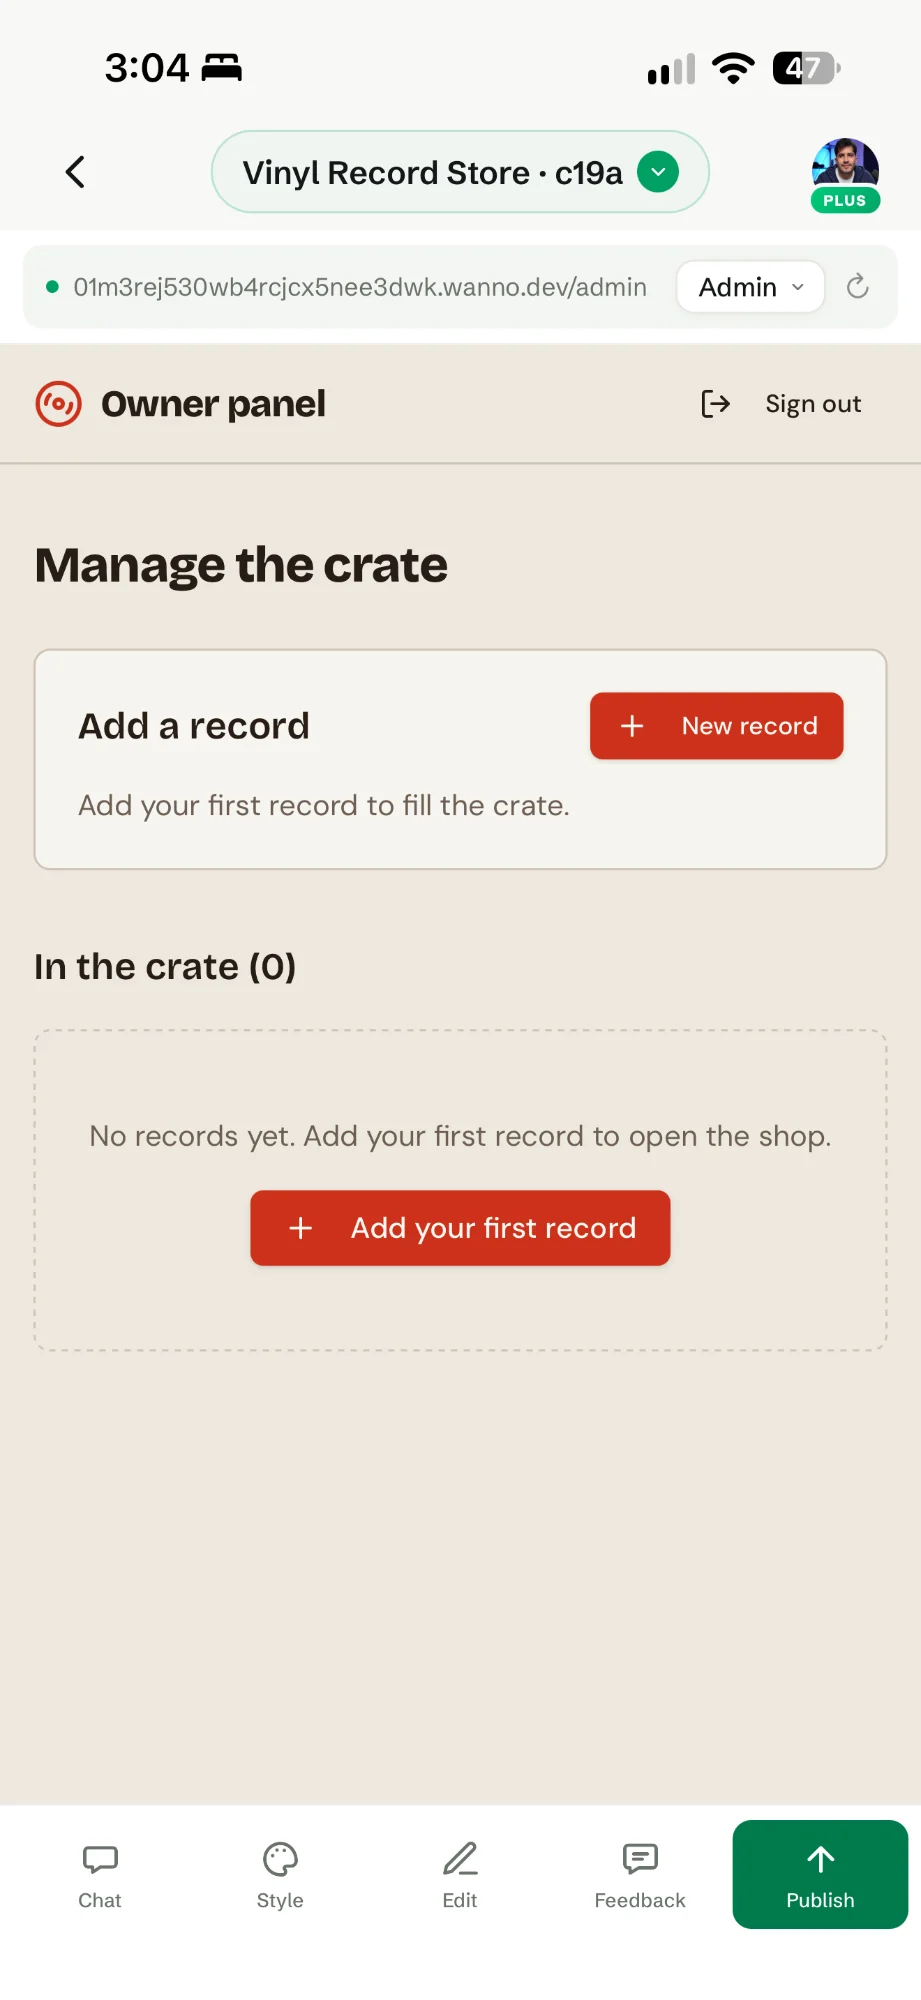
Once you're in, Manage the crate shows an Add a record section and the list of what's In the crate, which starts at zero. There's also a Sign out button.
5. Add your first record
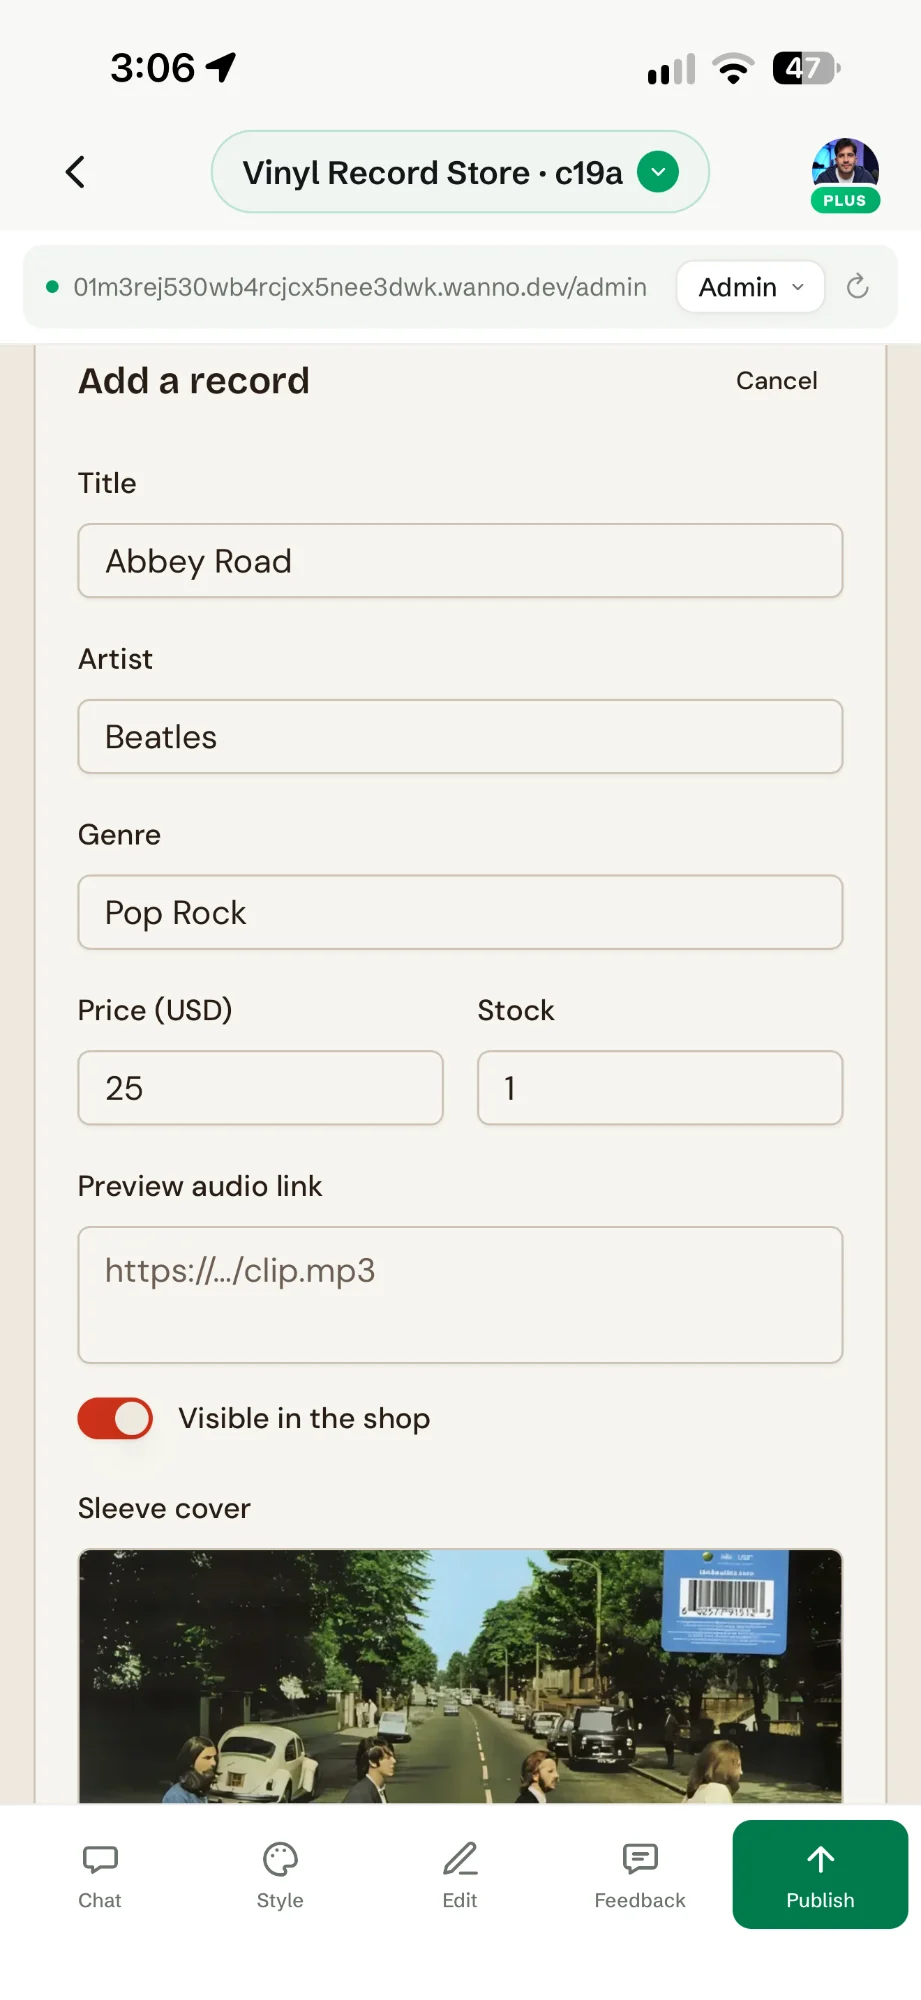
Tap New record and fill in the form. In the example:
- Title: Abbey Road
- Artist: Beatles
- Genre: Pop Rock
- Price (USD): 25
- Stock: 1
- Preview audio link: a link to an MP3 clip (left empty here)
- Visible in the shop: on, so you can hide a record without deleting it
- Sleeve cover: a photo uploaded from the phone
6. See it in the store
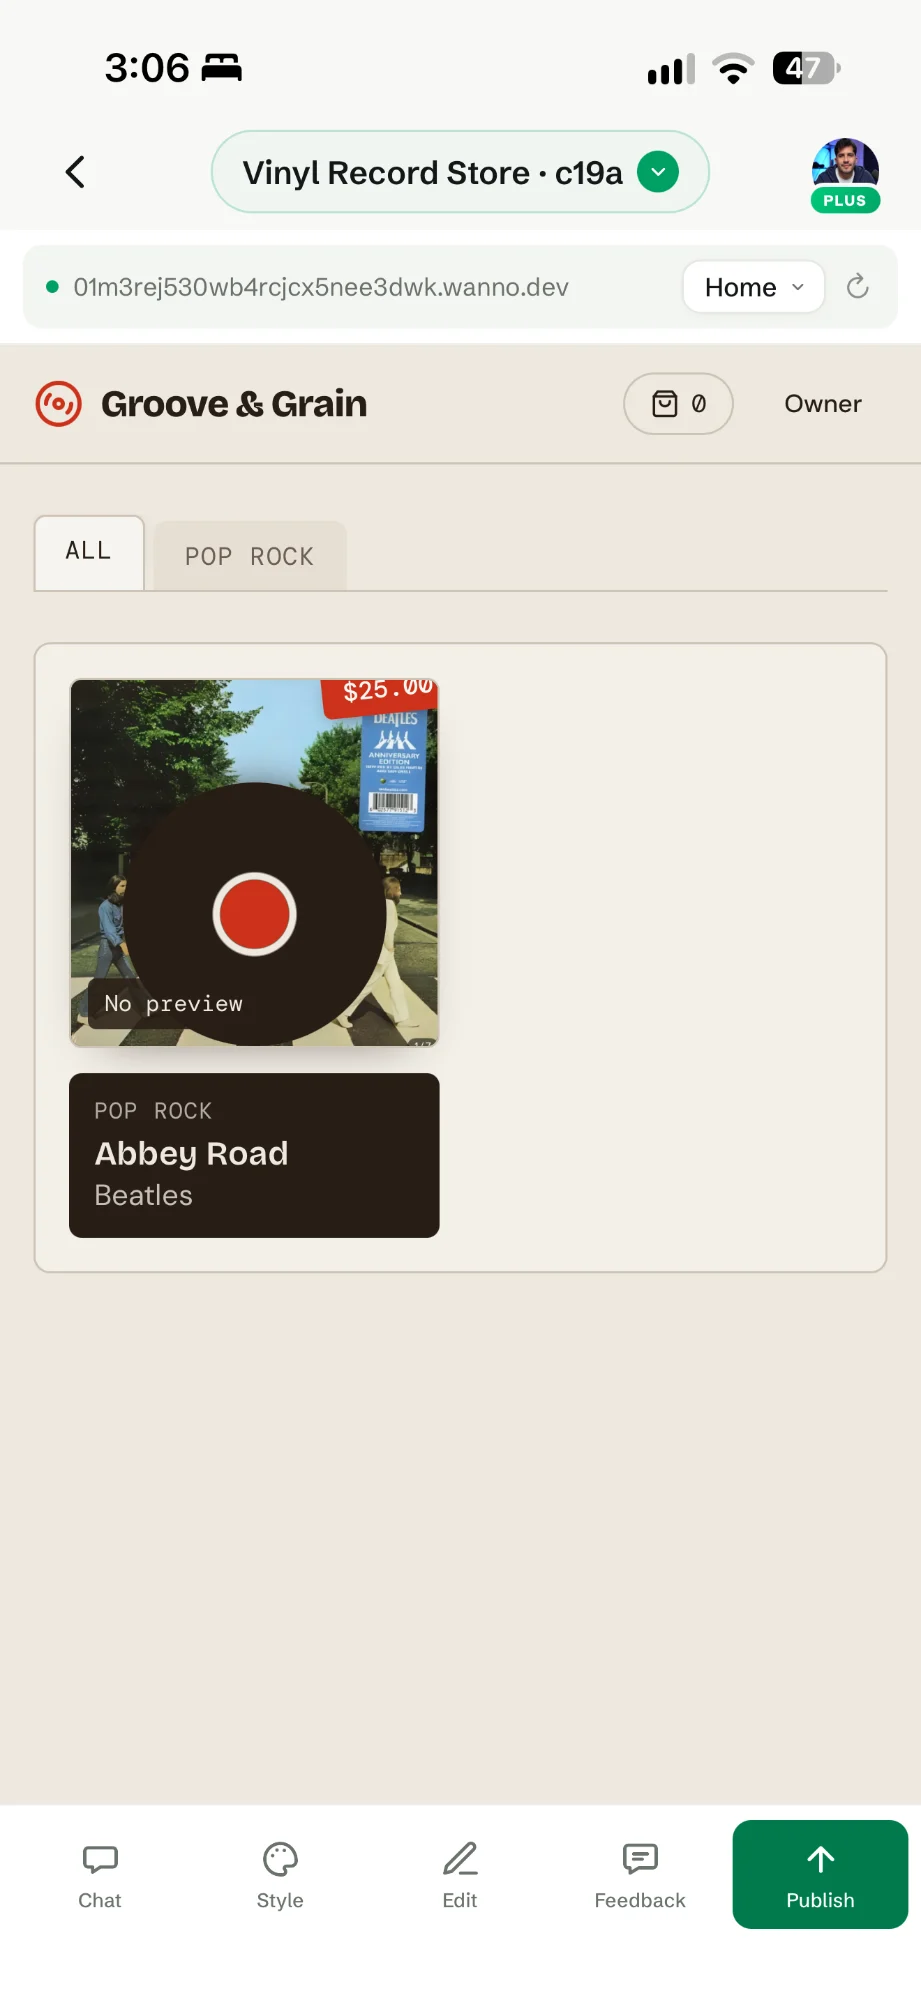
Switch back to Home. The record is on the shelf with its cover, a price tag ($25.00), title and artist. The genre you typed became its own tab next to All, so browsing by genre fills in as you add records. Since there's no audio link yet, the card shows No preview; add one from the panel and customers can listen before they buy.
[PLACEHOLDER: confirm that records added in the panel are stored on the server and visible to every visitor, on any device]
[PLACEHOLDER: how the store takes payment today (payment gateway, order by message, etc.), based on the final version]
7. Publish and share
When the store has the records you want to show, tap Publish. It goes live at its own wanno.dev address, or on your own domain. The panel comes with it: to add a new record, open /admin from any browser, without going back to the builder.
What else to ask for
You can keep adding features through the chat. These requests are a good starting point:
- Discount codes: add discount codes that apply at checkout
- New arrivals: a New arrivals section at the top with the latest records added
- Condition grading: a condition field for each record (Mint, Very Good, Good) shown on the card
- Staff picks: let me mark records as staff picks and show them in their own row
Summary
The store and its owner panel were built from a phone: one prompt that asked for both, a password chosen mid-build, sign-in at /admin, a record added with cover, price and stock, and the result live in the store with its own genre tab. For a closer look at every tool in the builder, continue with How to build an app from your phone.
Get wanno
Install it on your phone and build your store from the home screen:
- iPhone / iPad: App Store
- Android: Google Play